The Best Easy Chocolate Chip Cookies: A Recipe That Actually Works Every Time
There’s this moment that happens in my kitchen maybe twice a month—usually late on a Sunday afternoon—when I suddenly, desperately need chocolate chip cookies. Not tomorrow. Not in an hour after I’ve run to three stores for specialty ingredients. Right now. And over the years, through probably a hundred batches and just as many failures, I’ve developed a chocolate chip cookie recipe that delivers every single time with ingredients I actually have on hand.
The internet is drowning in chocolate chip cookie recipes, I know. Everyone claims theirs is “the best” or “the ultimate” or “better than your grandmother’s.” But here’s what I’m offering: a genuinely easy recipe that doesn’t require chilling dough overnight, doesn’t call for bread flour or cake flour or some specific brand of chocolate from a specialty shop, and consistently produces cookies that are crispy at the edges, chewy in the middle, and exactly what you’re craving when you decided you needed cookies in the first place.
Why Another Chocolate Chip Cookie Recipe?
I used to be obsessed with complex cookie recipes. The kind that required you to brown the butter, chill the dough for 72 hours, weigh everything to the gram, and use three different types of chocolate. And look, those cookies are incredible when you want to spend a weekend perfecting your craft. But they’re not easy, and they’re definitely not what you reach for on a Wednesday night when your kid announces they need two dozen cookies for tomorrow’s bake sale.
What changed my approach was working at a small bakery in Portland back in 2017. We made chocolate chip cookies every morning, and they had to be consistent, delicious, and fast. The baker who trained me—a woman who’d been making cookies for thirty years—showed me that the secret wasn’t exotic ingredients or complicated techniques. It was understanding ratios, knowing when to mix and when to stop, and respecting the importance of room temperature butter. Not melted, not cold, but actually room temperature.
That job taught me that easy doesn’t mean inferior. It means refined. It means you’ve made something enough times that you’ve stripped away everything unnecessary and kept only what matters.
The Base Recipe: What You Actually Need
Here’s what makes this recipe easy: you probably have everything already.
Dry Ingredients:
- 2¼ cups all-purpose flour (just regular flour, nothing fancy)
- 1 teaspoon baking soda
- 1 teaspoon salt (I use kosher salt, but table salt works if you reduce it slightly)
Wet Ingredients:
- 1 cup (2 sticks) unsalted butter, softened to room temperature
- ¾ cup granulated sugar
- ¾ cup packed brown sugar (light or dark, both work)
- 2 large eggs, room temperature
- 2 teaspoons vanilla extract (the real stuff, not imitation, but honestly even imitation is fine)
The Star:
- 2 cups chocolate chips (semi-sweet is classic, but use what you like)
That’s it. No bread flour for chewiness, no cornstarch for tenderness, no overnight rest for flavor development. Just straightforward ingredients that work together beautifully.
The Method: Where Easy Meets Effective
Step 1: Prep Your Space Preheat your oven to 375°F. Line two baking sheets with parchment paper. I used to skip the parchment paper and just grease the pans, but trust me, parchment makes cleanup so much easier and prevents the bottoms from browning too quickly.
Step 2: Mix Your Dry Ingredients Whisk together flour, baking soda, and salt in a medium bowl. Set it aside. This takes thirty seconds and ensures everything is evenly distributed. I used to skip this step and just dump everything together, and my cookies would have random salty bites or pockets of raw flour taste.
Step 3: Cream Butter and Sugars This is the most important step, and it’s where I see people mess up most often. Using an electric mixer (hand mixer or stand mixer, doesn’t matter), beat the softened butter with both sugars for 2-3 minutes. You’re looking for the mixture to become light and fluffy, almost doubled in volume, and pale in color.
The trick that changed everything for me: the butter needs to be room temperature enough that you can press your finger into it and leave a dent, but not so soft that it’s greasy or shiny. If your butter is too cold, you won’t get proper creaming and your cookies will be dense. Too warm, and they’ll spread too much in the oven.
Step 4: Add Eggs and Vanilla Beat in the eggs one at a time, making sure each one is fully incorporated before adding the next. Then add the vanilla. Your mixture might look a little curdled or separated—that’s totally fine and normal.
Step 5: Combine Wet and Dry Add your flour mixture to the butter mixture. Here’s where you need to resist the urge to over-mix. Mix on low speed just until you stop seeing dry flour streaks. The moment the flour disappears, stop mixing. Over-mixing develops gluten and makes tough cookies instead of tender ones.
Step 6: Fold in Chocolate Chips I use a wooden spoon or spatula for this part, gently folding the chocolate chips throughout the dough. This is also when I’ll add a pinch of flaky sea salt on top if I’m feeling fancy, though that’s completely optional.
Step 7: Scoop and Bake Use a cookie scoop (I use a 2-tablespoon size) or just spoon rounded tablespoons of dough onto your prepared baking sheets, leaving about 2 inches between each cookie. They will spread.
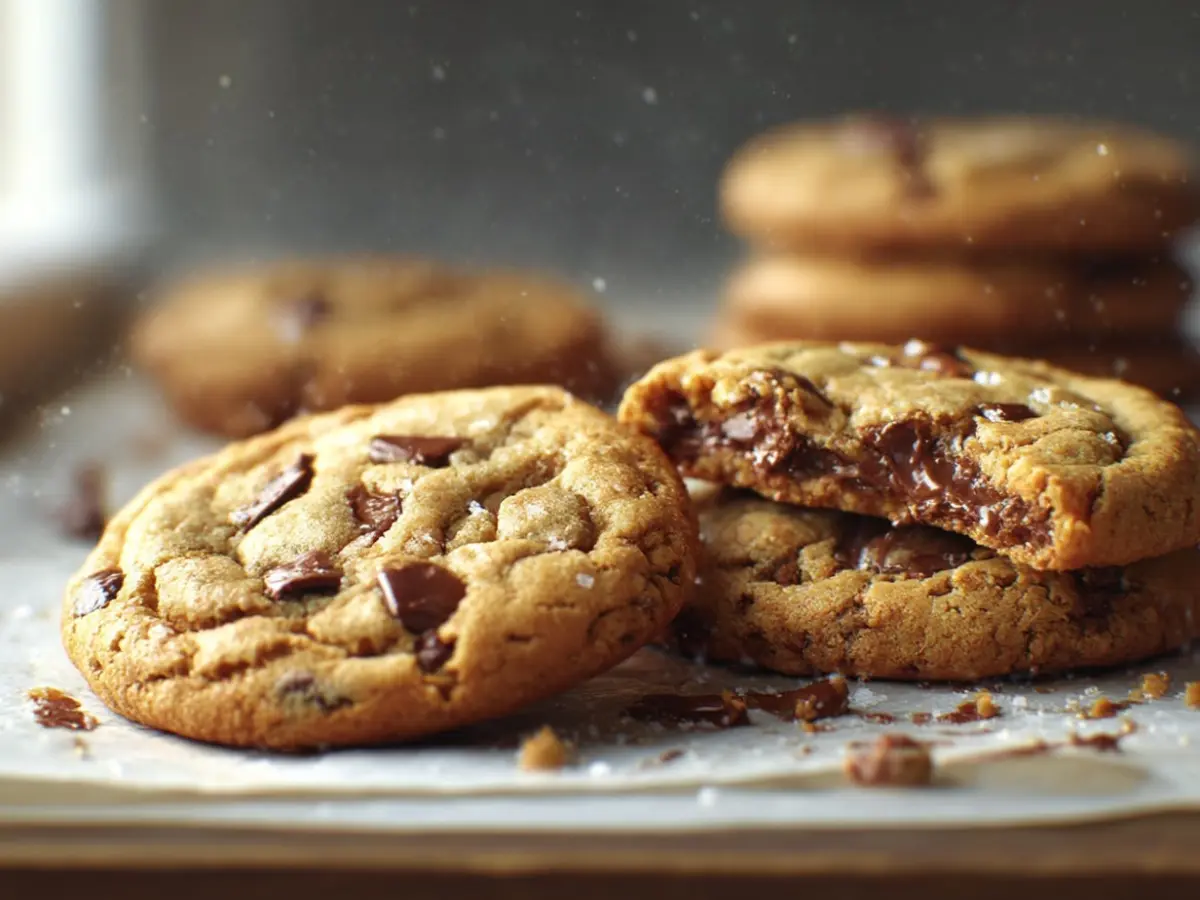
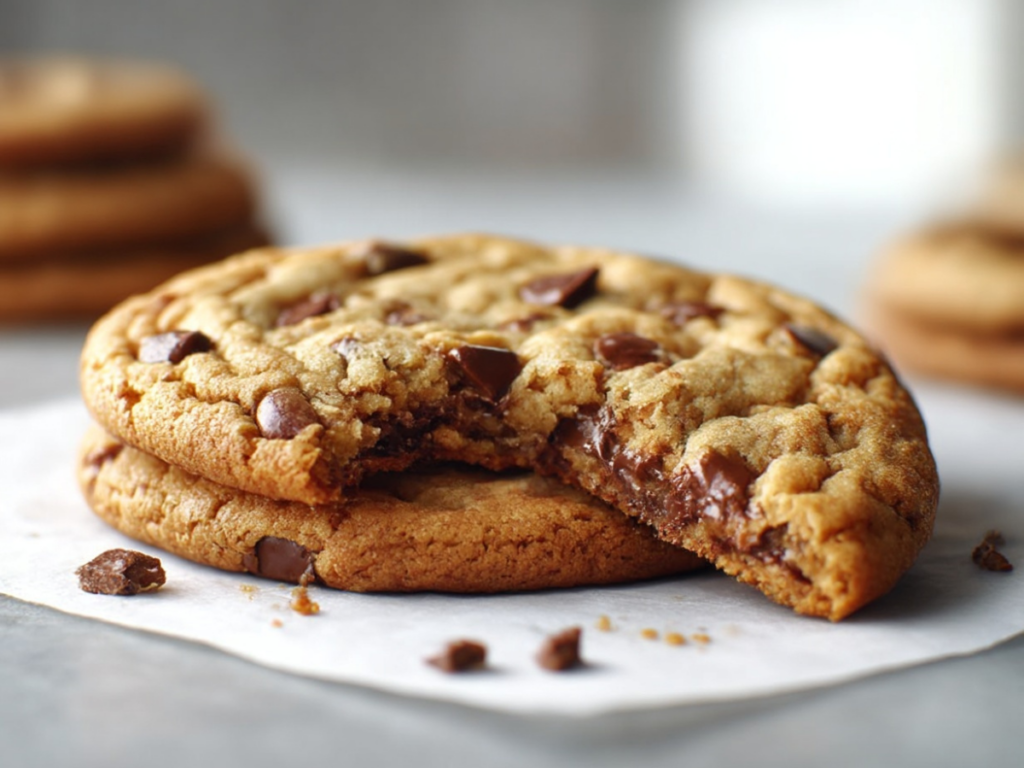
Bake for 9-11 minutes. This is crucial: you want to pull them when the edges are golden brown but the centers still look slightly underdone and puffy. They’ll look too soft, like they need another minute. Pull them anyway. They continue cooking on the hot pan after you remove them from the oven, and this is what gives you that perfect texture—crispy edges, chewy centers.
Let them cool on the baking sheet for 5 minutes before transferring to a wire rack.
The Variables: Making This Recipe Your Own
Once you’ve made the base recipe a few times, you start understanding what you can play with. Here’s what I’ve learned works:
Chocolate Choices: Semi-sweet chips are classic, but I’ve made these with dark chocolate chunks (my personal favorite), milk chocolate chips (sweeter and nostalgic), and even a mix of all three. I’ll also sometimes use a bar of good chocolate and chop it into irregular chunks—you get those beautiful chocolate puddles and crispy bits that way.
Brown Sugar Ratio: More brown sugar means chewier, more caramel-flavored cookies. I’ve gone as high as using all brown sugar (1½ cups) with no white sugar, and they were incredible—deeply flavored and stayed soft for days.
Size Matters: Smaller cookies (1 tablespoon of dough) bake in 7-8 minutes and are perfect for kids or portion control. Larger cookies (3 tablespoons) need 12-13 minutes and have this amazing contrast between crispy edges and soft centers.
Add-Ins: I’ve added chopped walnuts, pecans, toffee bits, and even a handful of old-fashioned oats (about ½ cup). Each addition changes the texture slightly but the base recipe is forgiving enough to handle it.
Common Problems and How to Fix Them
Cookies spreading too much? Your butter was probably too warm, or your oven isn’t hot enough. Try chilling the dough for 15 minutes before baking, or make sure your oven is properly preheated.
Cookies too cakey? You might have over-measured the flour. Flour should be spooned into the measuring cup and leveled off, not scooped directly from the bag which packs it down. Or you over-mixed the dough.
Cookies too flat and crispy? Not enough flour, or possibly you used melted butter instead of softened. Also check your baking soda—if it’s old, your cookies won’t rise properly.
Chocolate chips sinking to the bottom? This used to drive me crazy until I learned to toss the chocolate chips with a tablespoon of the flour mixture before folding them in. The flour coating helps them stay suspended in the dough.
The Make-Ahead Magic
One of my favorite things about this recipe is how well it freezes. I’ll make a double batch, scoop all the cookies onto a parchment-lined baking sheet, freeze them solid, then transfer the frozen dough balls to a freezer bag. They keep for three months, and you can bake them straight from frozen—just add an extra minute or two to the baking time.
There’s something deeply comforting about knowing I have chocolate chip cookie dough in my freezer. Bad day at work? Fresh cookies in 12 minutes. Unexpected guests? I look like I have my life together. Weekend morning and you want the house to smell amazing? You get it.
Why These Work (The Science-ish Part)
I’m not a food scientist, but I’ve learned enough to understand why this recipe is reliable. The ratio of butter to flour to sugar is balanced to give you spread without going flat. The combination of white and brown sugar gives you both crispy edges (from white sugar) and chewy centers (from brown sugar’s molasses). The baking soda provides lift and spread, and that touch of salt enhances all the other flavors.
Room temperature ingredients mix together more smoothly, creating a more uniform dough that bakes evenly. Cold ingredients can cause separation or uneven mixing, which leads to inconsistent cookies.
And pulling them when they look slightly underdone? That’s all about carryover cooking. The residual heat in the cookies and the pan continues the cooking process for several minutes after they come out of the oven.
My Saturday Afternoon Ritual
I make these cookies most Saturday afternoons now. It’s become this little ritual—putting on music, measuring out ingredients, the smell of butter and sugar creaming together, the way the whole apartment smells when they’re baking. My neighbor can set her clock by it; she’ll text me around 3 PM asking if I’m making cookies yet.
There’s something almost meditative about making the same recipe over and over. You stop thinking about the steps and just feel when the butter is creamed enough, notice when the dough looks right, know instinctively when they’re done. It’s muscle memory and intuition working together.
What Makes a Cookie Recipe “Easy”
I think a lot about what makes a recipe genuinely easy versus just labeled as easy. For me, it comes down to a few things: ingredients I don’t have to hunt for, techniques that don’t require years of experience, timing that’s forgiving rather than precise to the second, and results that are consistent.
This chocolate chip cookie recipe checks all those boxes. I’ve taught it to my teenage nephew who’d never baked before, and his cookies came out beautifully. I’ve made it when I’m exhausted on a weeknight, barely paying attention, and they still turned out great. I’ve made it for holiday cookie exchanges where I’m competing with serious bakers, and people always ask for the recipe.
The best easy recipes are the ones you make so often they become second nature. The ones you don’t need to look up anymore because your hands just know what to do. That’s what this recipe has become for me, and I hope it becomes that for you too.
There’s no secret ingredient here, no special technique that requires a culinary degree. Just good ingredients, proper ratios, and a little bit of patience to let them do their thing in the oven. Sometimes the easiest path really is the best one—you just need someone to show you that it works, that it’s reliable, that you can trust it.
And now you have that. Go make some cookies.