EASY FINGER FOODS FOR PARTY DESSERT
Picture this: your party is in full swing, the savory snacks have been devoured, and now it’s time for that sweet, celebratory finish—but instead of fussing with plates and forks, your guests are reaching for one irresistible, bite-sized treat after another, their faces lighting up with each delicious discovery. That’s the magic of a well-curated dessert table built for mingling, and mastering the art of Finger Foods For Party Dessert is your ticket to becoming the host everyone raves about. Let’s ditch the stress and dive into creating a stunning spread that’s as fun to make as it is to eat, promising you a hassle-free, crowd-pleasing end to any gathering.
What You’ll Need: Your Sweet Toolkit
Before we start our kitchen party, let’s get everything organized. The beauty of these recipes lies in their simplicity and the fact that many components can be prepped ahead. I’ve broken the ingredients down by treat type so you can mix and match based on your time and taste.
For the Chocolate-Dipped Strawberry “Pops”
- 1 pound fresh strawberries, washed and thoroughly dried
- 8 ounces high-quality semi-sweet or dark chocolate chips or bars, finely chopped
- 4 ounces white chocolate, finely chopped (optional, for drizzling)
- Assorted toppings: crushed pistachios, sprinkles, shredded coconut, or flaky sea salt
- Lollipop sticks or decorative toothpicks
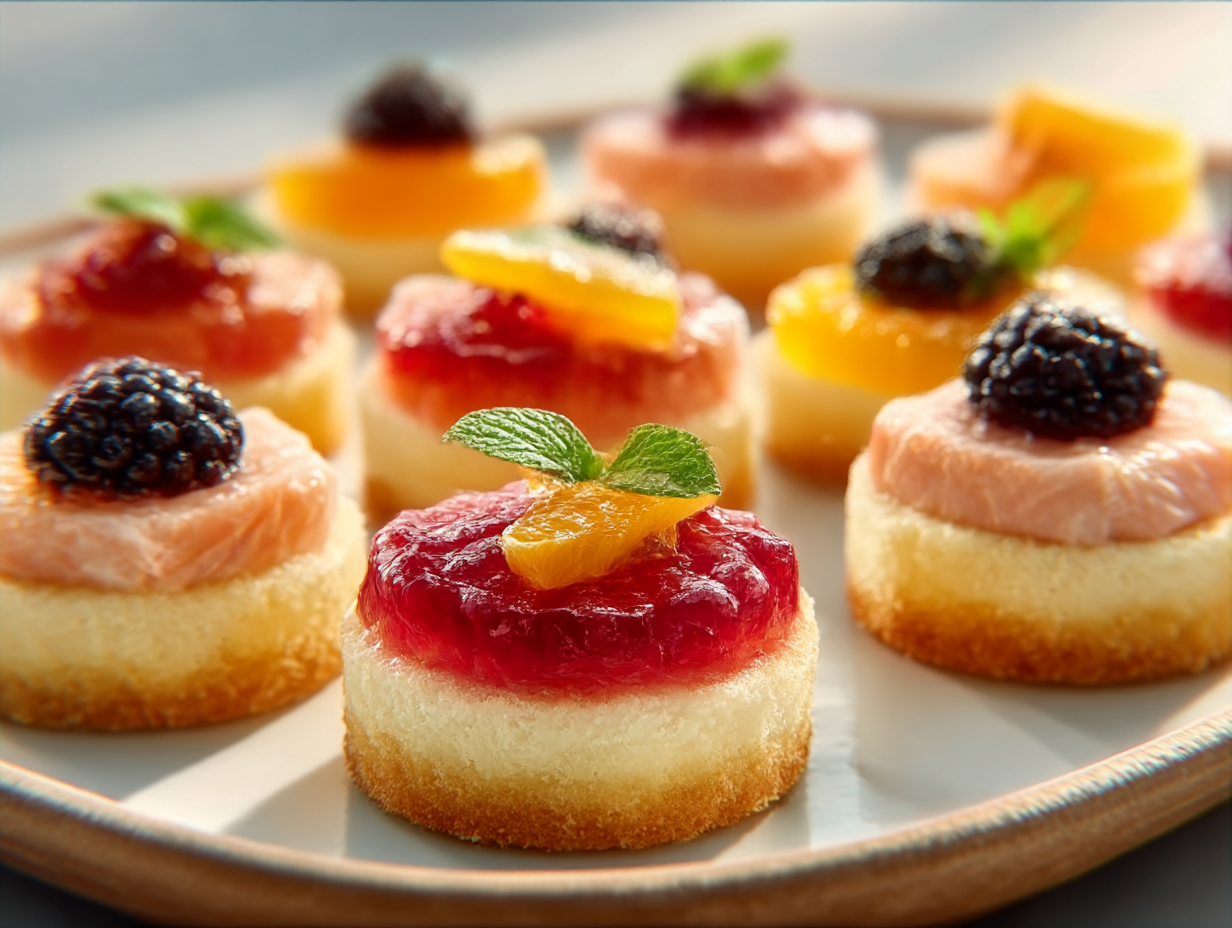
For the No-Bake Cheesecake Bites
- 1 ½ cups graham cracker crumbs
- 6 tablespoons unsalted butter, melted
- 2 tablespoons granulated sugar
- 8 ounces full-fat cream cheese, softened to room temperature
- ⅓ cup powdered sugar, sifted
- 1 teaspoon pure vanilla extract
- ½ cup heavy whipping cream, cold
- Fresh berries, lemon curd, or fruit preserves for topping
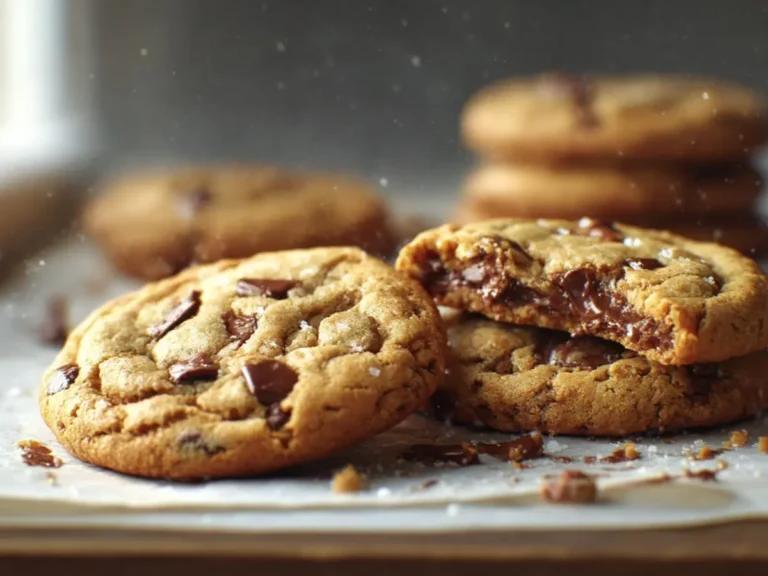
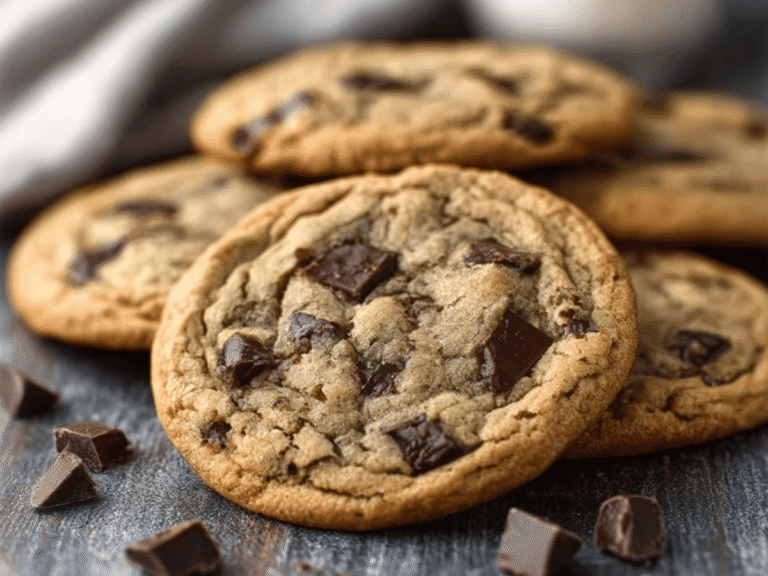
For the 3-Ingredient Peanut Butter Blossoms
- 1 cup creamy peanut butter (not natural/oily style)
- 1 cup granulated sugar, plus extra for rolling
- 1 large egg
- 1 bag milk chocolate kisses, unwrapped
Your Game Plan: Prep, Assemble, Impress

We’re going to tackle these in a smart order. We’ll start with what needs to chill, move to the no-bake assembly, and finish with the quick-bake item. Put on some music, clear your counter, and let’s get creative.
Step 1: The Foundation – No-Bake Cheesecake Bites
- Make the Crust: In a medium bowl, mix the graham cracker crumbs, melted butter, and 2 tablespoons of granulated sugar until it resembles wet sand. Press a heaping teaspoon of this mixture firmly into the bottom of mini paper cupcake liners placed on a tray or baking sheet. This is your flavor base, so pack it down well!
- Whip the Filling: Using a hand mixer or stand mixer, beat the softened cream cheese, powdered sugar, and vanilla extract on medium speed until completely smooth and creamy, about 2 minutes. Scrape down the sides. In a separate bowl, whip the cold heavy cream until stiff peaks form. Gently fold the whipped cream into the cream cheese mixture until no white streaks remain. This step is key for that light, fluffy texture.
- Assemble & Chill: Spoon or pipe the cheesecake filling over the crust in the liners. Top each immediately with a blueberry, raspberry, a small dollop of lemon curd, or a swirl of preserves. Pop the entire tray into the refrigerator to set for at least 2 hours. These can be made a full day ahead—your secret weapon!
Step 2: The Showstoppers – Chocolate-Dipped Strawberry “Pops”
- Prep the Berries: Keep those strawberries bone dry—any water will cause the chocolate to seize. Gently insert a lollipop stick or decorative toothpick into the stem-end of each strawberry. Line a baking sheet with parchment paper.
- Melt the Chocolate Like a Pro: This is where people get nervous, but I’ve got you. Place the chopped dark chocolate in a heatproof bowl. Set it over a saucepan with an inch of simmering water, ensuring the bottom of the bowl doesn’t touch the water. Stir gently until just melted and smooth, then remove from heat. For the white chocolate (if using), do this in a separate bowl, as it melts at a lower temperature and is more finicky.
- Dip and Decorate: Holding a strawberry by the stick, dip it ⅔ of the way into the melted chocolate, let the excess drip off, and then immediately roll the chocolatey part in your chosen topping before placing it on the parchment paper. If drizzling, let the dark chocolate set for a minute, then use a fork to flick lines of melted white chocolate over them. Let them set completely at room temperature (about 30 minutes).
Step 3: The Warm & Cozy Classic – Peanut Butter Blossoms
- Mix the Dough: Preheat your oven to 350°F (175°C) and line a baking sheet with parchment. In a bowl, stir together the peanut butter, 1 cup of sugar, and the egg until fully combined. It will be a soft, pliable dough.
- Shape and Sugar: Roll the dough into 1-inch balls. Place some extra granulated sugar in a small bowl and roll each ball to coat lightly. Place them on the baking sheet about 2 inches apart.
- Bake and Top: Bake for 8-10 minutes. They won’t look fully set, but that’s perfect! Immediately upon removing the tray from the oven, gently press a chocolate kiss into the center of each cookie. The warmth will soften it beautifully. Let them cool on the sheet for 5 minutes before transferring to a wire rack. Serve slightly warm for ultimate gooeyness.
Pro-Tips from Your Kitchen Bestie
Now that you’ve got the basics down, let’s talk about elevating your spread and sidestepping any potential hiccups. This is where your inner host shines.
Make-Ahead Magic
Your party day should be for last-minute touches, not frantic cooking. The cheesecake bites must be made a day ahead. The strawberry pops can be assembled up to 6 hours before serving and kept in a cool spot (if it’s very humid, the fridge is okay, but they may sweat a little). The peanut butter blossom dough can be rolled into balls and frozen on a tray, then baked straight from the freezer, adding 1-2 minutes to the bake time.
Presentation is Everything
Use tiered stands, pretty platters, and boards of varying heights to create visual interest. Mix textures—a sleek slate board for the cheesecake bites, a rustic wooden tray for the cookies, and a colorful plate for the strawberries. Label little treats if you have guests with allergies (a simple “Contains Peanuts” sign is a thoughtful touch).
The Flavor Twist Playbook
Don’t be afraid to personalize! Add a pinch of espresso powder to the dark chocolate for dipping. Mix a tablespoon of lemon zest into the cheesecake filling. Roll the peanut butter blossoms in coarse sugar or crushed pretzels for extra crunch. This is your canvas.
You’ve Got This, Host with the Most!
Remember, the goal isn’t perfection; it’s joy. Seeing your friends and family gathered, laughing, and reaching for another one of your homemade delights is the real reward. With these easy, make-ahead Finger Foods For Party Dessert, you’re not just serving sweets—you’re creating moments of connection and celebration. So take a deep breath, trust the process, and get ready to accept all the compliments. Now, go forth and conquer that dessert table. I’m so proud of you!
What is the best make-ahead strategy for the desserts mentioned in the article?
The cheesecake bites must be made a day ahead. Chocolate-dipped strawberry pops can be assembled up to 6 hours before serving. The peanut butter blossom dough can be rolled into balls and frozen, then baked from frozen, adding 1-2 minutes to the bake time.
What is the critical tip for successfully melting chocolate to dip the strawberries?
Ensure the strawberries are bone dry, as any water will cause the chocolate to seize. Melt the chopped chocolate in a heatproof bowl set over a saucepan of simmering water, making sure the bowl’s bottom does not touch the water. Stir gently until just melted and smooth.
How can I customize these finger food desserts to add different flavors?
You can add a pinch of espresso powder to the dark chocolate for dipping, mix lemon zest into the cheesecake filling, or roll the peanut butter blossom dough in coarse sugar or crushed pretzels before baking for extra crunch.
What are some presentation tips for serving these party desserts?
Use tiered stands, pretty platters, and boards of varying heights to create visual interest. Mix textures by using different surfaces like a slate board, rustic wooden tray, or colorful plate. It’s also thoughtful to label treats with allergy warnings, such as ‘Contains Peanuts’.
Easy Party Dessert Finger Foods Trio
Ingredients
Equipment
Method
- Make the No-Bake Cheesecake Bites: In a bowl, mix graham cracker crumbs, melted butter, and 2 tbsp sugar. Press firmly into mini cupcake liners on a tray.
- Beat softened cream cheese, powdered sugar, and vanilla until smooth. In a separate bowl, whip cold heavy cream to stiff peaks. Gently fold whipped cream into cream cheese mixture.
- Spoon or pipe filling over crusts. Top with berries, lemon curd, or preserves. Refrigerate for at least 2 hours to set.
- Make the Chocolate-Dipped Strawberry Pops: Insert a lollipop stick into each dry strawberry. Line a baking sheet with parchment.
- Melt dark chocolate in a heatproof bowl over simmering water (double boiler), stirring until smooth. Melt white chocolate separately if using.
- Dip each strawberry 2/3 into chocolate, let excess drip, then roll in toppings. Place on parchment. Drizzle with white chocolate if desired. Let set at room temperature for 30 minutes.
- Make the Peanut Butter Blossoms: Preheat oven to 350°F (175°C). Line a baking sheet with parchment.
- In a bowl, stir together peanut butter, 1 cup sugar, and egg until a soft dough forms.
- Roll dough into 1-inch balls. Roll balls in extra granulated sugar. Place on baking sheet 2 inches apart.
- Bake for 8-10 minutes. Immediately press a chocolate kiss into the center of each warm cookie. Let cool on sheet for 5 minutes before transferring to a wire rack.