The Cookie That Ate Itself (And Made Perfect Sense)
I’ve been making cookies for longer than I care to admit, and somewhere around year eight, I hit what I can only describe as cookie fatigue. Chocolate chip felt routine. Snickerdoodles, however perfect, started blending together. Then a line cook I worked with in 2017 brought in these absurd black-and-white cookies that were studded with crushed Oreos, and I initially rolled my eyes. Using cookies to make cookies felt like the kind of gimmicky recipe you’d find on a “life hack” website. I was so wrong it’s almost embarrassing.
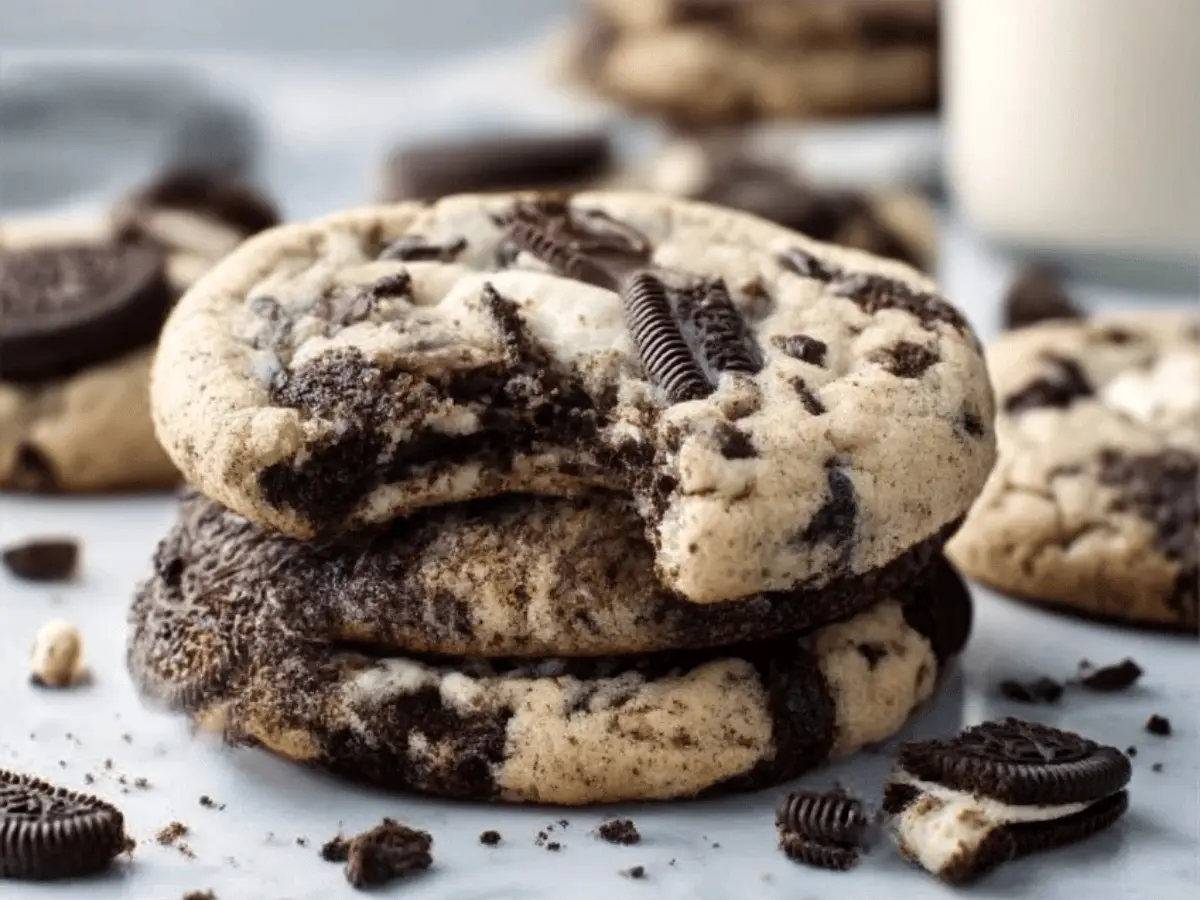
That first bite recalibrated my entire understanding of texture contrast. The rich, chocolatey cookie base against those crunchy Oreo shards, with pockets of cream filling that had somehow stayed soft and sweet—it shouldn’t have worked as well as it did. But there’s something about the way processed cookies hold up under heat that homemade cookies don’t, and that structural difference creates these little flavor bombs throughout each bite.
The Oreo Engineering Problem
Here’s what makes cookies and cream cookies trickier than they look: Oreos are designed to stay crisp in milk, which means they’re structurally stubborn. Chop them too fine and they dissolve into your dough, turning everything a muddy gray and losing that crucial textural element. Leave them too chunky and they create weak points where your cookies crack and crumble. I’ve made this mistake enough times that I now have a very specific method.
I pulse whole Oreos—cream filling and all—in a food processor exactly seven times. Not six, not eight. Seven pulses gives you a mix of fine crumbs, medium chunks, and a few larger pieces that stay visible in the finished cookie. Those larger pieces are what create drama on the surface. Some bakers insist on separating the cream from the wafers and treating them differently, but I think that’s overthinking it. The cream filling acts almost like pockets of frosting that melt slightly during baking.
The other thing I learned through trial and error: you need way more Oreos than you think. I use about 15 cookies for a standard batch, which feels excessive until you taste the result. Fewer than that and you get “cookies with some Oreo bits,” which isn’t the same thing as a proper cookies and cream cookie. You want Oreo chunks in every single bite.
There was this three-week period where I experimented with different Oreo varieties—Golden, Double Stuf, Mint, the red velvet ones. Standard Oreos won every time for the visual contrast and because their chocolate flavor is assertive enough to read as “cookies and cream” rather than just “chocolate cookie with stuff in it.” Though I’ll admit the mint ones were interesting in a bizarre way.
Building the Base Cookie
The dough itself needs to do two things: support all those Oreo chunks and not compete with them for attention. I’ve tried making cookies and cream cookies with a chocolate base, and while they’re good, they lose that classic cookies-and-cream identity. You want a vanilla-forward cookie that echoes the cream filling in the Oreos.
My base recipe leans heavily on brown sugar—about three parts brown to one part white. Brown sugar adds moisture and a subtle molasses note that makes the vanilla taste more complex. I cream the butter and sugars together for longer than most recipes call for, usually a full four minutes, until the mixture looks almost fluffy and has lightened slightly in color. This extra creaming incorporates air, which helps the cookies achieve that soft, almost cakey center that contrasts with the crunchy Oreo bits.
Fat ratios matter here. I use only butter—no shortening—because I want that rich, dairy flavor that complements the Oreo cream. The butter needs to be properly softened, not melted, not cold. If you press it with your finger, it should leave an indent but not feel greasy. I usually leave mine on the counter for about 45 minutes, though this obviously depends on your kitchen temperature.
The vanilla extract needs to be real, not imitation. I used imitation once when I ran out, and the cookies tasted vaguely plasticky—ironic, given that we’re folding in Oreos. Use a full tablespoon of vanilla, which is more than most cookie recipes call for. You want that flavor assertive enough to stand up to all that chocolate wafer.
Here’s something that changed my approach: I add a tablespoon of cornstarch to my dry ingredients. A baker at a small shop in Seattle told me this trick, and it creates a slightly more tender crumb that doesn’t compete with the Oreo crunch. The cornstarch inhibits gluten formation just enough to keep these cookies from veering into cake territory while maintaining that soft center.
The Mixing Method That Makes Them Work
Most cookie recipes tell you to add your mix-ins at the end, and that’s fine for chocolate chips. But Oreo chunks are different—they’re fragile and you don’t want to pulverize them further. What I do now is add half the crushed Oreos after I’ve mixed in the flour, then very gently fold them in with a spatula. Then I portion the dough and press the remaining Oreo chunks into the tops of each ball.
This two-stage addition means you get chunks distributed throughout the cookie (from the first addition) plus big visible pieces on top that create those dramatic, craggy surfaces. Those top pieces stay more distinct because they’re not getting compressed by scooping and rolling.
I scoop these with a large cookie scoop—the kind that holds about three tablespoons of dough. Cookies and cream cookies need to be substantial. Make them too small and the Oreo-to-cookie ratio gets off, and you end up with something that tastes more like a sugar cookie with a chocolate problem.
And here’s the move that took me forever to figure out: after scooping, I let the dough balls chill in the fridge for at least 30 minutes, preferably an hour. I know, I know—more waiting. But cold dough spreads less, which means thicker cookies with gooier centers. The contrast between the soft interior and those crunchy Oreo bits becomes even more pronounced.
Temperature and Timing
I bake these at 350°F on parchment-lined baking sheets. The parchment is important because these cookies can stick—all that cream filling in the Oreos can glue them to the pan if you’re not careful.
The baking time is where you need to pay attention. I pull mine at exactly 11 minutes, when the edges are just set and very lightly golden, but the centers still look slightly underdone. They’ll continue baking on the hot pan after you remove them from the oven. If you wait until the centers look fully baked, you’ll end up with dry cookies, and dry cookies and cream cookies are deeply sad.
I learned this the hard way after over-baking an entire batch for a bake sale. They looked beautiful—perfectly golden, crisp all the way through. But they’d lost that soft center that makes these cookies worth making, and the Oreo chunks became almost tooth-breakingly hard. Someone still bought them all, but I knew the truth.
Let them cool on the baking sheet for five full minutes before transferring to a wire rack. This resting time lets them firm up just enough to move without falling apart.
The Recipe I Keep Coming Back To
Start with ¾ cup softened butter, ¾ cup brown sugar, and ¼ cup granulated sugar. Cream these together for four minutes until fluffy. Beat in two eggs (one at a time) and a tablespoon of vanilla extract.
In a separate bowl, whisk 2¼ cups all-purpose flour, 1 tablespoon cornstarch, 1 teaspoon baking soda, and ½ teaspoon salt. Add this to your butter mixture and mix on low until just combined.
Fold in half of your crushed Oreos (about 7-8 cookies, pulsed seven times in a food processor). Scoop the dough into balls using a large cookie scoop, press the remaining Oreo chunks into the tops, and chill for at least 30 minutes.
Bake at 350°F for 11 minutes, until edges are set but centers look slightly underdone. Cool on the pan for five minutes, then transfer to a wire rack.
This makes about 18 large cookies that keep well in an airtight container for almost a week, though they’ve never lasted that long in my kitchen.
Why They’re Better Than They Should Be
There’s something almost meta about cookies and cream cookies that I find deeply satisfying. You’re using an already-manufactured cookie to make a homemade cookie, which feels both lazy and clever at the same time. But the result isn’t just “acceptable homemade cookies”—it’s something genuinely special that you can’t buy.
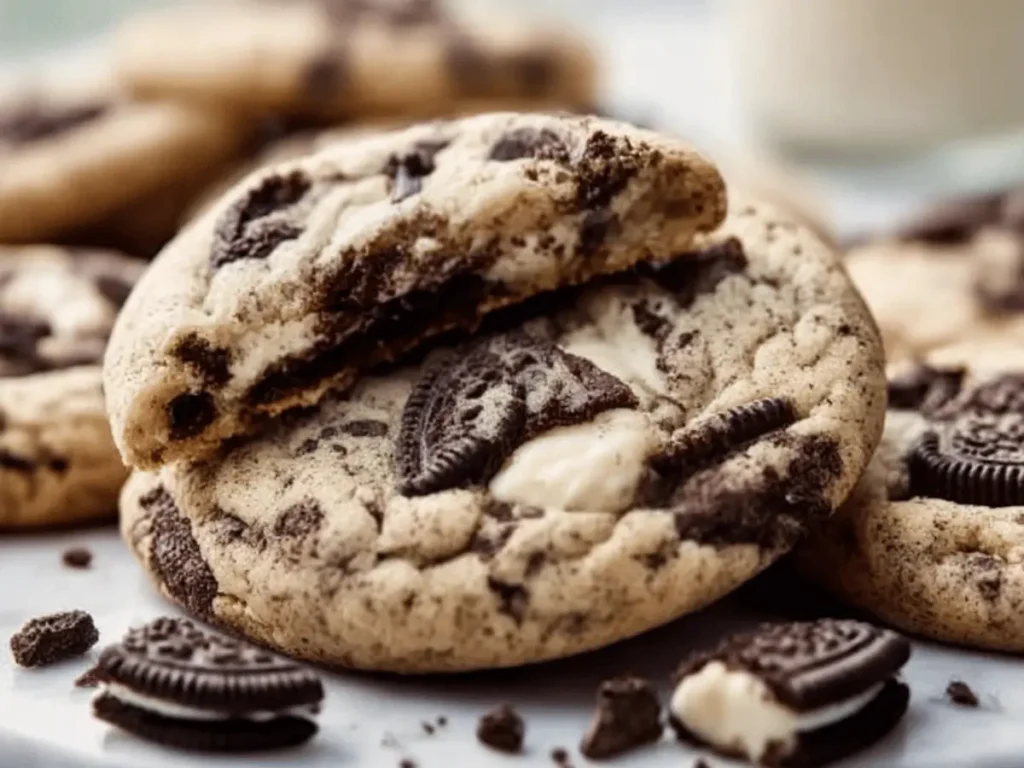
The store-bought cookies and cream cookies I’ve tried are always too uniform, too predictable. These have personality. Some have enormous Oreo chunks on top, others have the chunks concentrated inside. Each one is slightly different, and that imperfection is part of what makes them feel homemade in the best way.
I keep Oreos in my pantry now specifically for making these, which my 2015 self would find ridiculous. But when you want a cookie that feels both nostalgic and interesting, that delivers texture and flavor in a way that surprises people even though they know exactly what they’re eating—these do it. They’re not trying to be sophisticated or refined. They’re just very, very good at being exactly what they are.