The Banana Bread That Finally Made Sense
There’s a turned-brown banana on my counter right now, and I’m not even slightly concerned. Actually, I’m kind of excited about it. That wasn’t always the case. For years, I treated banana bread like a disposal method for produce guilt—those blackening bananas felt like a kitchen failure I needed to fix with flour and sugar. Then one rainy October afternoon in 2019, a baker in Portland showed me why I’d been thinking about it all wrong.
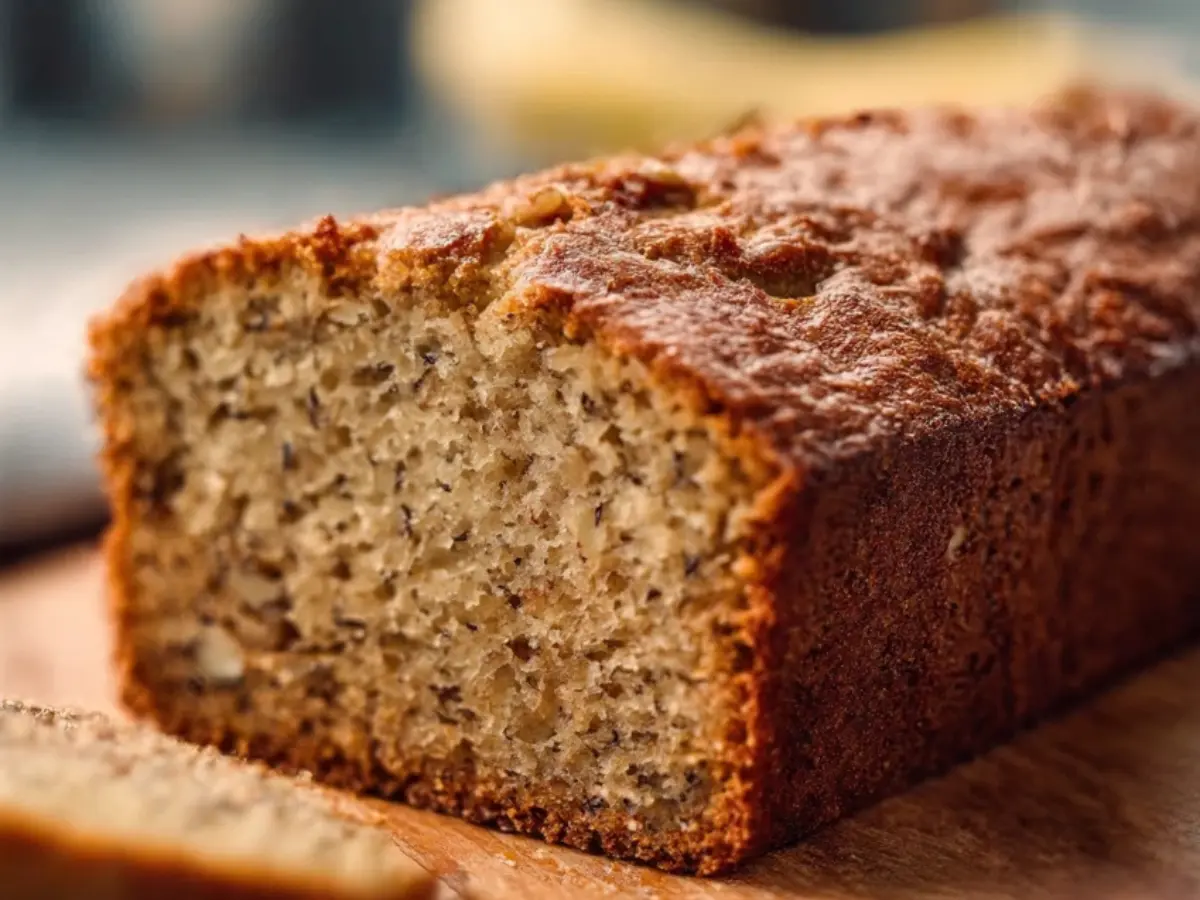
She pulled a loaf from her oven, and the smell wasn’t just “banana bread.” It was caramelized, almost toffee-like, with this deep warmth that made my stomach actually growl. When I finally tasted a slice—still warm, with butter melting into its tender crumb—I understood. This wasn’t about using up old fruit. This was about transformation.
The Banana Revelation
Here’s what nobody tells you when you’re starting out: the bananas everyone thinks are “too far gone” are exactly right. Those ones with leopard spots turning into full-on black patches? That’s not rot—that’s sugar concentration and flavor development. I’ve tested this more times than I care to admit, and there’s a specific point where bananas cross from “ripe” to “perfect for baking.” The skin should be deeply speckled, yielding completely to gentle pressure, and when you peel them, the flesh should be almost creamy.
The science behind it is actually fascinating. As bananas ripen past what most people would eat fresh, their starches convert to simple sugars. That’s why overly-ripe bananas taste so much sweeter—and why they create that characteristic moisture in banana bread that stays soft for days. I learned this the hard way after making a loaf with merely yellow bananas. It was… fine. Edible. Boring. The difference between fine and exceptional comes down to patience—letting those bananas really go for it on your counter.
My grandmother used to freeze bananas when they hit that perfect stage, and I thought she was just being frugal. Turns out, freezing them is brilliant for two reasons. First, it means you can stockpile them until you have enough for baking. Second, when you thaw frozen bananas, they release even more liquid, which translates directly into moisture in your final loaf. Just don’t skip the step of draining off excess liquid before you mash them, or you’ll end up with something closer to banana pudding cake.
The Moisture Secret Nobody Talks About
After years of testing banana bread recipes—and I mean dozens—I’ve realized that moisture comes from a trinity of elements working together. It’s not just the bananas, though they’re obviously crucial. The real magic happens when you understand fat, acid, and mixing method.
The fat component is where most recipes get timid. I use a combination of melted butter (for flavor) and a neutral oil like grapeseed or vegetable (for tenderness). Butter alone gives you taste but can make the crumb slightly denser once cooled. Oil creates that stay-moist texture that lasts for days. My ratio is roughly two parts butter to one part oil, which I arrived at after a particularly obsessive weekend of side-by-side tests. The melted butter needs to cool slightly—if it’s too hot, it can start cooking your eggs when you mix them in.
Then there’s the acid. Most recipes call for baking soda because overripe bananas are slightly acidic, but I also add a tablespoon of sour cream or full-fat Greek yogurt. This does double duty: it adds tang that balances the sweetness, and it contains lactic acid that tenderizes the gluten structure. That’s the technical explanation. The practical result is a crumb that practically melts on your tongue.
The mixing method matters more than I ever expected. I used to just throw everything in a bowl and mix until combined, but that’s actually the enemy of moisture. Here’s what changed everything for me: mix your wet ingredients until they’re emulsified—really beat those eggs, mashed bananas, melted butter, oil, and yogurt together until they look cohesive. Then fold in your dry ingredients with a spatula, stopping the moment you don’t see streaks of flour. Every additional stir develops more gluten, and gluten development means structure but less tenderness. You want just enough structure to hold the loaf together, not enough to make it bready.
A pastry chef once told me that banana bread should have a texture closer to pound cake than to sandwich bread, and that completely reframed how I approach mixing. Those little flour streaks you might see right before you stop mixing? They’ll hydrate as the loaf sits. Trust it.
Temperature, Time, and the Dark Crust Debate
This is where things get specific, and I have opinions.
Most banana bread recipes call for 350°F, and I bake mine at 325°F instead. The lower temperature means a longer bake—usually 65 to 75 minutes depending on your pan—but it allows the interior to cook through without the outside developing too much color or, worse, that tough outer crust that makes you want to just eat the center and leave the edges.
Pan choice matters. I swear by a 9×5-inch light-colored metal loaf pan. Dark pans absorb more heat and can give you an overly brown exterior before the center is done. Glass pans are okay but can create slightly gummy spots near the bottom. If you only have a dark pan, reduce your oven temperature by another 25°F.
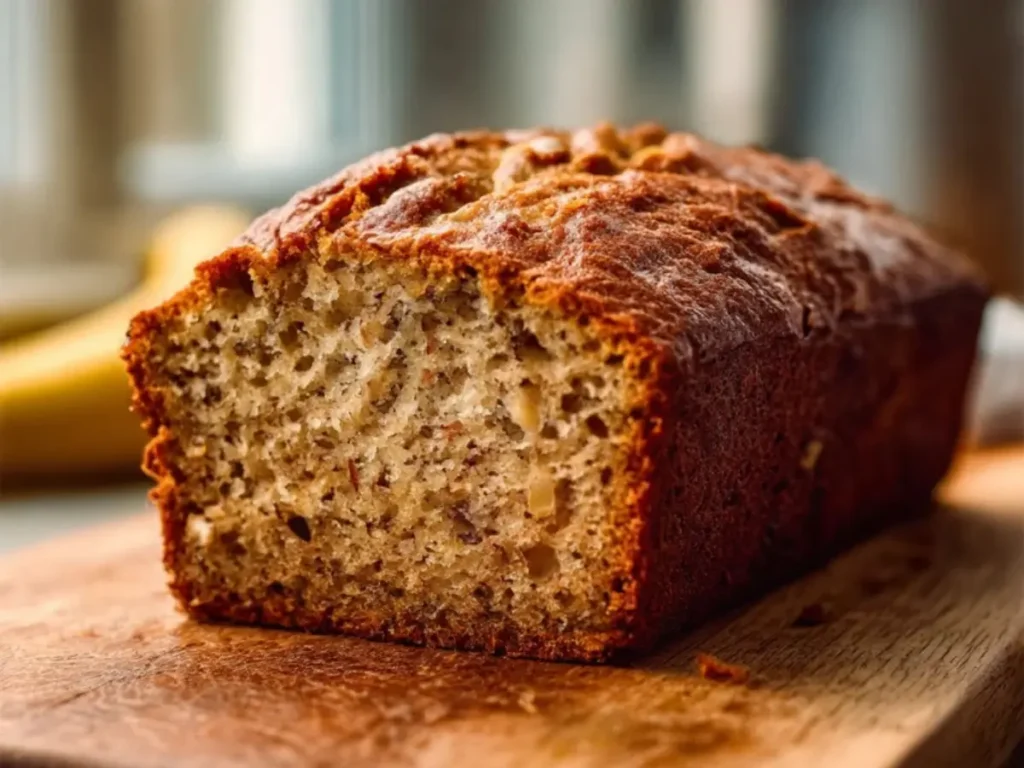
The toothpick test is classic, but I’ve learned to look for other signs too. The loaf should be deeply golden (not pale, which means it’s underdone), and when you gently press the top center, it should spring back slowly. If your finger leaves a deep impression, it needs more time. The internal temperature should read around 200-205°F on an instant-read thermometer inserted into the center.
Here’s the thing that took me forever to learn: that loaf is going to keep cooking from residual heat even after you remove it from the oven. I pull mine when the toothpick has just a few moist crumbs attached—not wet batter, but not totally clean either. By the time it cools, it’ll be perfectly done throughout.
My Working Recipe (After All Those Tests)
I’m giving you the recipe I make most often, but with some notes on what you can adjust.
Start with three very ripe bananas—the kind you’d never eat fresh. They should give you about 1½ cups when mashed. Mash them thoroughly with a fork in a large bowl, leaving a few small chunks if you like texture. This is personal preference territory.
Whisk in two large eggs, ½ cup melted butter (cooled to warm), ¼ cup neutral oil, ¾ cup brown sugar (light or dark), 1 tablespoon sour cream, and 1 teaspoon vanilla extract. Beat this mixture for a minute or so until it looks creamy and unified.
In a separate bowl, whisk together 1¾ cups all-purpose flour, 1 teaspoon baking soda, ½ teaspoon salt, and ¾ teaspoon cinnamon. I usually add a tiny pinch of nutmeg too, though that’s not traditional—it just adds warmth.
Pour the dry ingredients into the wet and fold together with a spatula, scraping the bottom and sides of the bowl. Stop when you barely see any flour streaks. This should take maybe 20-30 gentle folds.
Pour into your greased loaf pan and bake at 325°F for 65-75 minutes, until a toothpick comes out with just moist crumbs. Let it cool in the pan for 15 minutes, then turn out onto a wire rack.
The hardest part is waiting to slice it. I know you want to cut into it while it’s warm, and you can, but it’ll be slightly gummy. If you can manage to wait until it’s completely cool, the texture sets into something more refined. Though honestly, I rarely manage that level of self-control.
The Variations Worth Trying
Once you nail the basic loaf, the world opens up. I went through a phase where I added toasted walnuts (about ¾ cup, roughly chopped), which added a pleasant bitterness and crunch that cut through the sweetness. More recently, I’ve been folding in ½ cup of dark chocolate chips—the kind with at least 60% cacao—and it’s become my default version.
Last spring I made a batch with a cream cheese swirl that felt almost too decadent. Beat 4 ounces of softened cream cheese with 3 tablespoons sugar and 1 egg yolk, then dollop it over the batter in the pan and swirl with a knife. It bakes into these tangy pockets that contrast beautifully with the sweet banana.
There’s also a brown butter version I make when I want to impress someone. Brown your butter until it’s deeply golden and smells nutty, let it cool, and use it in place of the regular melted butter. It adds a complexity that’s hard to describe—almost like toffee or caramel notes woven through the loaf.
Why This Still Matters
In a world where you can buy decent banana bread at almost any coffee shop, there’s something quietly satisfying about making a loaf that’s genuinely better than what you’d buy. It’s not about complexity or unusual ingredients. It’s about understanding what moisture actually means, about recognizing when those bananas have crossed into optimal territory, about knowing when to stop mixing.
I keep a loaf on my counter most weeks now, wrapped in a clean kitchen towel. It’s there for breakfast toasted with butter, for afternoon snacks with tea, for late-night slices eaten standing at the counter. Those spotted bananas aren’t a problem to solve anymore. They’re a quiet promise of something good coming.